
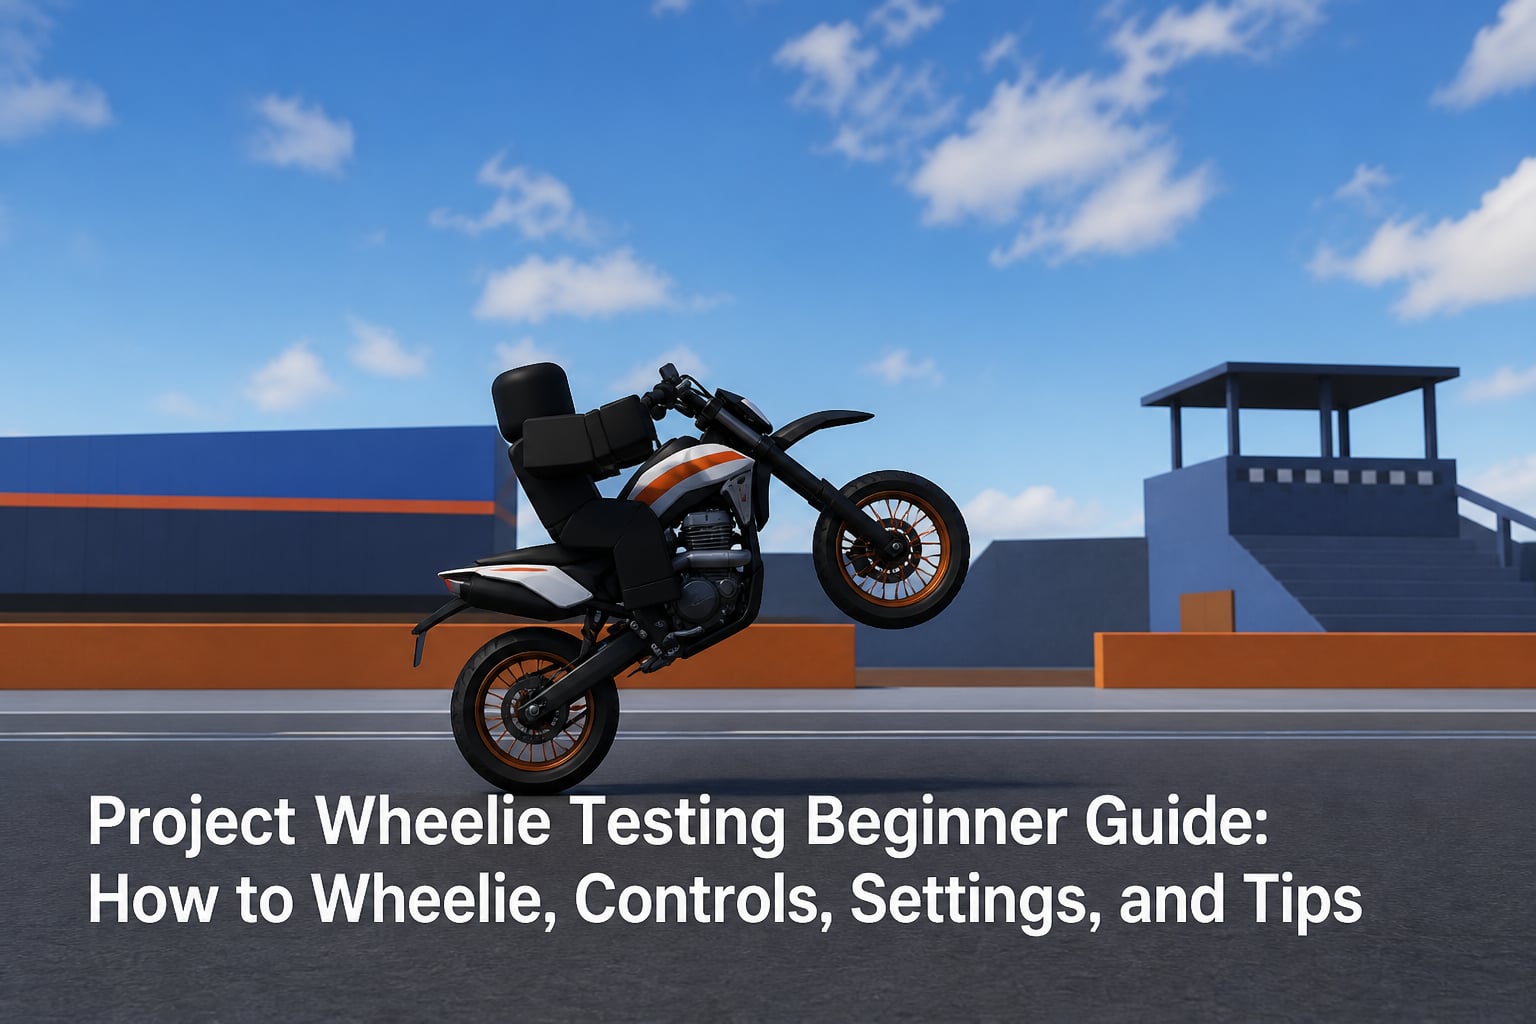
I spent my first three hours in Project Wheelie looping out, crashing into traffic, and wondering why the front wheel kept slamming back down. After about a week of daily practice, I finally held a 12-second wheelie on a stock bike and unlocked my first testing badge.
If you just loaded into Project Wheelie for the first time and the bike feels impossible to lift, you are not alone. This Project Wheelie beginner guide walks you through the controls, the best settings to start with, and a step-by-step wheelie procedure I wish someone had handed me on day one. By the end, you should know exactly how to practice, what mistakes to avoid, and how to make faster progress during early testing.
Project Wheelie is a Roblox early access vehicle experience built entirely around one skill: holding a wheelie. The game rewards you with in-game currency and Robux payouts the longer you balance, so the better your throttle control and balance point feel, the more you earn. Let me show you how the game actually works before we touch the controls.
Table of Contents
What Is Project Wheelie and How Does the Game Work
Project Wheelie is a Roblox motorcycle simulator focused entirely on the wheelie mechanic. You spawn on a bike, ride down a long test strip, and try to lift the front wheel and hold it up for as long as possible.
The game runs on the Roblox engine and is playable on PC, mobile, and console through standard Roblox input bindings. Early testing phases give players access to a small set of bikes and a single practice map, with new content rotating in as the developers update the build.
Your main goal in each session is simple: cover as much distance as possible on the rear wheel. The game tracks your best wheelie distance, your top speed during a wheelie, and the longest hold time. Each metric pays out a small reward, and stacking long holds in one session multiplies your payout.
Who is Project Wheelie for? It is built for Roblox players who enjoy vehicle simulators, motorcycle fans who want a quick practice loop between real-world rides, and content creators looking for a skill-based Roblox game to stream. You do not need any prior bike knowledge to enjoy it, but understanding throttle and balance definitely helps you progress faster.
Project Wheelie Controls for PC, Mobile, and Controller
The controls in Project Wheelie map cleanly across all three platforms, but the feel changes a lot depending on what you use. I started on PC keyboard, switched to a controller for one weekend, and spent the rest of my time on mobile. Here is what works best on each.
PC Keyboard and Mouse Controls
On PC, the default control layout uses W to throttle, S to brake, Space to clutch (or rear brake depending on the build), Shift to lean forward, and Ctrl to lean back. Mouse movement handles the steering.
The biggest tip here is to rebind lean forward and lean back to keys that sit naturally under your thumbs, like Q and E. The default layout forces you to stretch, which throws off your balance timing during the first week of practice.
Mobile Touch Controls
Mobile uses on-screen buttons grouped on the right side of the screen. You tap and hold the throttle button with your right thumb while steering with a virtual joystick on the left.
I recommend lowering the throttle sensitivity in settings before you start. Mobile taps register slightly delayed compared to keyboard presses, so a heavy throttle tap on mobile often launches the front wheel too high. A lighter sensitivity gives you the same fine control PC players get.
Controller Layout
Controller players get the most natural feel because the right trigger controls throttle and the left trigger controls the rear brake. Lean is mapped to the left bumper for forward and the right bumper for back.
Analog triggers are the secret weapon here. Pulling the right trigger halfway gives you a smooth throttle roll-on that keyboards cannot match. If you have a controller with hair triggers, disable them in Project Wheelie settings because hair triggers make small movements too twitchy for balance work.
Best Settings for Project Wheelie Beginners
The default settings work fine, but a few tweaks make the first week dramatically easier. I changed four settings before my second session and shaved nearly 30 percent off my learning curve.
Camera distance should start at the middle option. The far camera gives a better sense of distance, but it makes judging the balance point harder. The middle setting keeps the bike readable while still showing enough of the road ahead.
Throttle sensitivity on PC and controller should sit between 60 and 75 percent. Lower than that and you cannot get the front wheel up on stock bikes. Higher than that and you loop out every other attempt.
Traffic toggle is the most important setting to flip early. Turn traffic OFF for your first three practice sessions. Once you can hold a wheelie for five seconds on an empty road, turn traffic back on and treat it as a separate drill.
Lean assist should stay disabled for beginners. The assist feels helpful at first, but it teaches you to rely on the system instead of your own balance. Turn it on only when you want to test long holds without worrying about crashing.
How to Wheelie in Project Wheelie: Step-by-Step
This is the procedure I used to go from zero-second attempts to consistent 10-second holds. Follow the steps in order and resist the urge to skip ahead.
- Start on flat ground with traffic turned off. Position your bike in the middle of the lane so you have room on either side if you start to lean too far.
- Roll forward at low speed. You want just enough momentum to keep the bike stable, roughly 10 to 15 miles per hour in game units.
- Lean back slightly while you tap throttle. The combination of body weight shift and a short throttle burst lifts the front wheel gently off the ground.
- Hold throttle steady once the front wheel is up. Do not let go of throttle or the wheel drops. Do not add more throttle either, or you loop out backward.
- Tap the rear brake lightly if you feel the bike starting to tip too far back. The rear brake pushes the front wheel back down and saves you from a crash.
- Lean forward to bring the wheel down on purpose when you are ready to end the wheelie. Dropping it smoothly is better than slamming it down.
Practice this loop for at least 20 minutes per session. The first five minutes will feel awkward. By minute 15, your muscle memory starts to take over and you stop thinking about each step.
Once you can repeat this loop consistently, add small variations. Try starting from a slightly faster roll. Try a slightly longer rear brake tap. These micro-adjustments are what separate a 5-second wheelie from a 20-second one.
Understanding the Balance Point and Throttle Control
The balance point is the angle where the front wheel stays up without you actively controlling it. Below the balance point, the wheel falls. Above it, you loop backward.
Your job is to find that sweet spot and hold your bike there with small inputs. Most beginners either under-correct and let the wheel drop, or over-correct and slam the rear brake to avoid flipping. The real skill is doing less.
Throttle modulation is the technique of making very small changes to the throttle. Instead of pulling or releasing the throttle, you roll it gradually. On a controller, this means rolling the right trigger a few millimeters at a time. On keyboard, it means quick taps rather than long holds.
The rear brake is your safety valve. Every experienced rider keeps a finger or thumb on the rear brake at all times during a wheelie. If the bike starts tipping back, a tiny tap on the rear brake pushes the front wheel forward and saves you.
Lean also matters more than most beginners realize. Leaning your body weight back shifts the balance point further behind the axle, which actually makes the wheel easier to hold. Leaning forward does the opposite and brings the front wheel down faster.
Common Beginner Mistakes and How to Avoid Them
I made every mistake in this list during my first week. Sharing them here so you can skip the worst of the frustration.
The biggest beginner mistake is using too much throttle. Beginners panic and pull the throttle to the maximum, which launches the bike past the balance point and into a loop-out. Smooth, gradual throttle is the fix every time.
The second most common mistake is forgetting the rear brake. If you never touch the rear brake, your only recovery option is to let go of the throttle, which usually results in dropping the wheel and losing the wheelie. Cover the rear brake at all times.
Third, beginners often start at full speed. High speed makes the front wheel harder to lift and easier to loop out. Start slow and build speed only after you can hold a wheelie at low speed for at least 10 seconds.
Fourth, many beginners practice with traffic on from day one. The constant threat of cars makes it impossible to focus on balance. Turn traffic off until your basics are solid, then add traffic back as a separate difficulty layer.
Fifth, players tend to give up after five minutes when they cannot hold a wheelie. Wheelie control takes time. Plan on at least 30 minutes of focused practice per session before you judge your own skill level.
Practice Drills and Solo Testing Sessions
Solo testing is the fastest way to improve in Project Wheelie, but only if you structure your sessions. Random practice leads to random results. Here is the practice plan I followed for my first two weeks.
Drill one is the slow roll. Start at minimum throttle, try to lift the wheel, hold for as long as possible, then lower the wheel smoothly. Repeat this 10 times per session until it feels easy.
Drill two is the balance hold. Once you can lift cleanly, focus only on holding. Count the seconds out loud. Aim to beat your personal best by one second each attempt.
Drill three is the rear brake recovery. Intentionally push the bike past the balance point, then tap the rear brake to recover. This drill teaches you that mistakes are not crashes if you react in time.
For session length, 30 to 45 minutes is the sweet spot. Shorter than 30 minutes does not give your muscle memory enough time to absorb anything. Longer than an hour and your inputs start to drift from fatigue.
Track your best time and distance after every session. Watching the numbers climb is what keeps you motivated during the early grind.
Project Wheelie Early Testing Tips for Faster Progress
Early testing phases in Project Wheelie often include bonus payouts and limited-time bikes. Here is how to make the most of them.
Save up your first payouts and spend them on a bike with better throttle response. The starter bike works, but a mid-tier bike makes balance work noticeably easier thanks to smoother torque delivery.
Use the test map, not the open world, for your first wheelie attempts. The test map is a straight, traffic-free strip designed specifically for wheelie practice. It is where the top players in the community learned their basics.
Join the official Discord if one exists for the testing phase. Developers often drop balance changes and hidden tips in the testing channels. I picked up two key tricks from Discord that I did not find anywhere else.
Finally, record your best sessions. Watching your own wheelie from a third-person angle exposes mistakes you cannot feel in the moment, like steering too aggressively or leaning off-balance.
Frequently Asked Questions About Project Wheelie
How do you control your wheelie in Project Wheelie?
You control your wheelie in Project Wheelie by combining smooth throttle input, light rear brake taps, and small body lean adjustments. The throttle lifts the wheel, the rear brake prevents loop-outs, and your lean shifts the balance point. Most of the work happens on the throttle, so practice rolling it on gradually rather than pulling hard.
How do you wheelie step by step as a beginner?
Roll forward at low speed, lean back slightly while tapping throttle to lift the front wheel, hold throttle steady once the wheel is up, tap the rear brake if you tip too far back, and lean forward to bring the wheel down on purpose. Repeat this loop 10 times per session and your muscle memory will take over within a week.
How do you wheelie in Project MX or Project Wheelie on Roblox?
The procedure is the same as in real-world wheelie practice: use throttle to lift, rear brake to recover, and lean to control the balance point. Project Wheelie maps these inputs to keyboard, mobile buttons, and controller triggers. Turn traffic off for your first sessions and practice on the dedicated test map.
Why is popping a wheelie considered risky or illegal in real life?
In real life, popping a wheelie on public roads is illegal in most areas because it reduces your ability to brake and steer, endangers other drivers, and can lead to fines or license suspension. In Project Wheelie, there is no legal risk, but the same physics apply: a bad wheelie means a crash, so treat the rear brake as your safety net.
How long does it take to learn wheelies in Project Wheelie?
Most beginners can hold a 5-second wheelie within three to five practice sessions of 30 minutes each. Holding a 15-second wheelie usually takes one to two weeks of daily practice. Consistent short sessions beat occasional long sessions for building the muscle memory wheelies require.
Final Thoughts on the Project Wheelie Beginner Guide
Project Wheelie is one of the cleanest skill loops on Roblox right now, and the skill ceiling feels high enough to keep you hooked for months. Every wheelie you hold longer than the last one feels like a real achievement, which is rare in vehicle games.
If you take one thing away from this Project Wheelie beginner guide, let it be this: keep your inputs small, keep your sessions short, and always cover the rear brake. Do those three things and the rest of the wheelie technique falls into place on its own.
Now load into Project Wheelie, run the step-by-step procedure I outlined, and aim for your first 10-second hold. Once you nail that, the next milestone is just a few more practice sessions away.