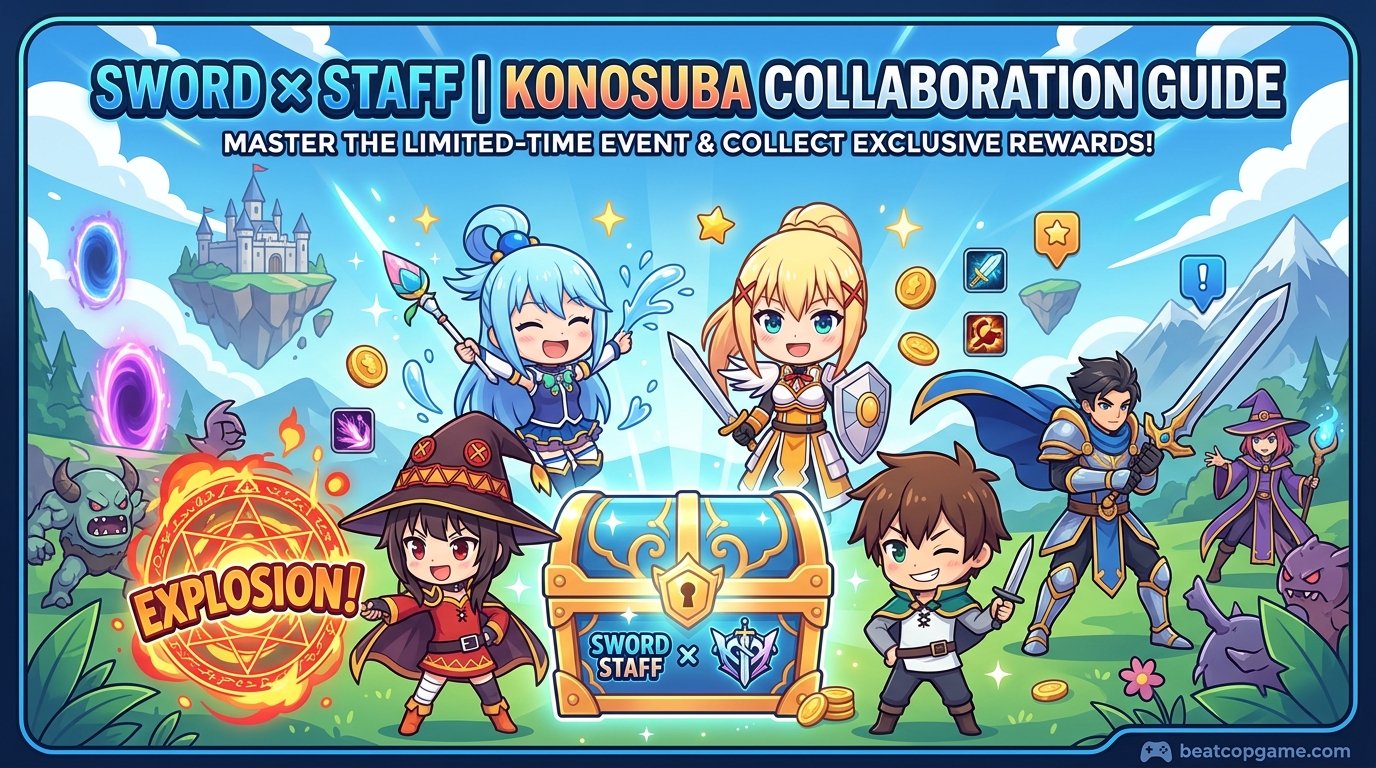
The Sword x Staff Konosuba collaboration event is finally here, and players are rushing to decide which companion to pick first. This collaboration brings Aqua, Megumin, and Darkness into the idle RPG as limited-time companions, each offering unique stat bonuses that can change how your build performs.
I spent the first few days of the event testing the companion system and talking to other players about what works best for different classes. In this Sword x Staff Konosuba collaboration guide, I will break down the best companion choice for every playstyle and share the event tips that helped me get the most out of my tickets.
Table of Contents
Event Overview and Duration
The Konosuba collaboration is a limited-time crossover that runs for roughly two weeks in 2026. During this window, you can obtain three exclusive companions inspired by the popular anime characters. The event includes a special story mode, daily login bonuses, and side activities that run alongside the main companion gacha.
I checked the event timer the moment it launched, and the countdown confirmed about fourteen days total. That means every ticket matters because once the timer hits zero, the Arcanum Wheel closes and these companions may not return for a long time.
If you are logging in daily, you should still have enough time to earn a meaningful number of free spins before the event ends.
How the Arcanum Wheel Works
The Arcanum Wheel is the gacha roulette system used to unlock companions during this collaboration. You spend wheel tickets to spin, and the first spin guarantees that you get to choose one of the three companions manually. This initial choice is permanent, so you cannot swap it later without unlocking the others through additional spins.
After your guaranteed pick, the remaining companions drop randomly through normal spins. There is a pity system in place, but reaching it requires a significant number of pulls.
From what I have gathered in the community, you need roughly 180 spins total to collect all three companions through the wheel. That number sounds high, but daily missions and login rewards give you a steady stream of tickets if you play consistently.
Sword x Staff Konosuba Collaboration Guide – Best Companion Choice
Your first companion selection is the most important decision you will make during this event. The companion you pick on your first guaranteed spin becomes your immediate power boost, and their stat bonuses apply directly to your character.
I made my choice after testing how each companion stat affects different builds, and I strongly recommend matching your companion to your class rather than picking based on which character you like from the anime.
Each companion provides two main stat bonuses. Darkness boosts block and block efficiency, making her ideal for frontline characters. Megumin increases critical rate and offensive power, which benefits damage-focused builds. Aqua raises critical resistance and damage resistance, giving extra survival to support roles.
These bonuses are not just cosmetic numbers; they translate into real combat differences in both PvE and PvP content.
Darkness – Best Companion for Tanks and Knights
Darkness is the obvious choice if you play a Knight or any tank-focused build. Her block and block efficiency bonuses directly reduce incoming damage and improve your shielding capabilities. I tested her with a standard Knight setup, and the extra block efficiency made a noticeable difference during boss stages where physical damage spikes.
If you are running a build that relies on absorbing hits for your team, Darkness is the companion you want. Players on Reddit have confirmed that her bonuses scale well with block-related gear, which means she becomes even more valuable as you upgrade your equipment.
The extra block efficiency also helps in PvP, where surviving the opener often decides the match.
Megumin – Best Companion for DPS and Sorcerers
Megumin is the damage dealer’s dream companion. She provides critical rate and offensive power bonuses, which directly increase your burst output. I ran her with a Sorcerer build, and the critical rate boost was easy to feel because more spells were hitting for extra damage.
For any class that wants to clear stages faster or top damage charts, Megumin is the best pick. Her bonuses also help with area-of-effect damage, which matters in Sword x Staff because many stages throw waves of enemies at you.
The community feedback on this has been consistent: if you are not a tank or healer, Megumin is probably the safest choice. The extra offensive power scales with your gear, so she stays relevant as you progress into late-game content.
Aqua – Best Companion for Healers and Sages
Aqua focuses on critical resistance and damage resistance, making her the best companion for Sages and any support-oriented build. I switched to her on a secondary character and immediately noticed less spike damage from bosses. The critical resistance is especially useful because random critical hits from enemies are often what kill supports first.
If your role is to keep the party alive, Aqua gives you the breathing room you need. Her defensive bonuses also help in PvP, where focused fire on the healer is common.
Several players in the community have pointed out that Aqua pairs well with healing-oriented gear, creating a survivable backline that can sustain through longer fights.
Class-Specific Companion Recommendations
To make this simple, here is how I would match each class to the best companion. Knights should pick Darkness because block stats align with their natural role. Sorcerers should pick Megumin because the critical rate and offensive power amplify their spell damage.
Sages should pick Aqua because the defensive stats help them survive while they heal the party. If you are playing a hybrid build or a class that sits between roles, I recommend Megumin as the default.
Damage is always useful, whereas block and healing bonuses lose value if your build is not fully committed to those roles. When in doubt, offensive power tends to speed up progression more than defensive stats at most content levels.
How to Get More Event Tickets
Event tickets are the currency you need to spin the Arcanum Wheel, and there are several ways to collect them without spending money. First, login rewards give you tickets just for opening the game each day. I collected several tickets this way before I even started the event story.
Second, event missions hand out tickets for completing simple tasks like clearing stages or upgrading gear during the event period. Third, the event story itself rewards tickets as you progress through the collaboration stages.
I recommend completing every story stage you can because the rewards stack quickly. Fourth, side events like Lucky Bingo and Grand Treasure Hunt also drop tickets or ticket-related currency. If you combine all four sources, a free-to-play player can earn a respectable number of spins over the full two weeks.
Event Story Rewards and Exchange Shop
The event story is more than just a narrative bonus. Each stage you clear drops Blessing Balls and other collaboration currency that you can spend in the exchange shop. I have been running the story stages daily, and the reward rates feel generous for the time invested.
The exchange shop contains limited items, including companion upgrade materials and high-tier gear boxes. My priority for the shop is simple: grab companion-related items first, then focus on gear that your main character can use.
The Blessing Balls are also worth collecting because they feed into the companion progression system. Do not waste your currency on generic consumables unless you have already bought out the exclusive collaboration items.
Side Events: Lucky Bingo and Grand Treasure Hunt
While the Arcanum Wheel gets the spotlight, the Lucky Bingo and Grand Treasure Hunt side events are running at the same time. Lucky Bingo rewards you with extra materials and currency for completing bingo boards through daily tasks. I found it easy to clear at least one line per day just by doing the same activities I was already doing for tickets.
The Grand Treasure Hunt offers a chance at the Lucky Statue, which provides passive bonuses that last beyond the event. Several players mentioned that the Lucky Statue is worth the effort because it helps with reward rates in other game modes.
I would prioritize the treasure hunt after you have done your daily wheel spins and story stages.
Free-to-Play vs Spending Strategy
If you are free-to-play, you need to be realistic about what you can achieve in two weeks. The community data suggests that getting all three companions requires about 180 wheel spins, which is difficult for a non-spending player to reach.
I recommend focusing on getting your first guaranteed companion and then grinding every free ticket source to try for a second. You also get the male MC as a companion guaranteed on day seven of login rewards. That means even F2P players walk away with at least two companions by the end of the event.
Whales and light spenders can push for the full trio by purchasing extra ticket packs, but the rest of us should enjoy the free rewards and not stress about collecting everything. Remember that the game itself is good for an idle RPG, and this event is a bonus, not a requirement.
Common Mistakes to Avoid
The biggest mistake I see players make is choosing their first companion based on anime preference instead of build synergy. Picking Megumin on a tank build wastes her offensive bonuses. Picking Darkness on a Sorcerer build does almost nothing for your damage output.
Match your companion to your class, and you will see a much bigger improvement. Another common error is ignoring the side events. Lucky Bingo and Grand Treasure Hunt are not just distractions; they give real currency and materials that help you progress.
I also see players burning tickets the moment they get them instead of spacing out their spins across the full event duration. Daily consistency beats a single day of heavy grinding because login rewards reset every twenty-four hours.
Frequently Asked Questions
Which companion should I choose in the Konosuba event?
Choose Darkness for tanks, Megumin for damage dealers, and Aqua for healers. Match your companion to your class for the best results.
How do I get tickets for the Konosuba collab?
You get tickets from daily login rewards, event missions, event story stages, and side events like Lucky Bingo and Grand Treasure Hunt.
Who is the best companion for tanks in Sword x Staff?
Darkness is the best companion for tanks and Knights because she boosts block and block efficiency.
What rewards can I get from the Konosuba collaboration?
You can get three exclusive companions, Blessing Balls, collaboration gear, event shop items, and the Lucky Statue from side events.
How long does the Konosuba event last?
The Konosuba collaboration event lasts approximately two weeks. The countdown timer is visible in-game.
Can you get all three Konosuba companions?
Yes, but it requires roughly 180 spins. Free-to-play players can get one guaranteed companion plus the male MC from day seven login rewards.
What do Aqua, Megumin, and Darkness do in Sword x Staff?
Aqua gives critical resistance and damage resistance. Megumin gives critical rate and offensive power. Darkness gives block and block efficiency.
Conclusion
This Sword x Staff Konosuba collaboration guide covers everything I learned during the first week of the event. The key takeaway is simple: pick your companion based on your class, not your anime favorite.
Darkness suits tanks, Megumin suits damage dealers, and Aqua suits supports. Stack your daily tickets, finish the event story, and participate in the side events to get the most rewards before the two-week window closes.
I hope these tips help you make a confident choice and maximize your progress. If you stay consistent with daily logins and missions, you will walk away with at least two solid companions and a pile of collaboration loot. Good luck with your spins.