
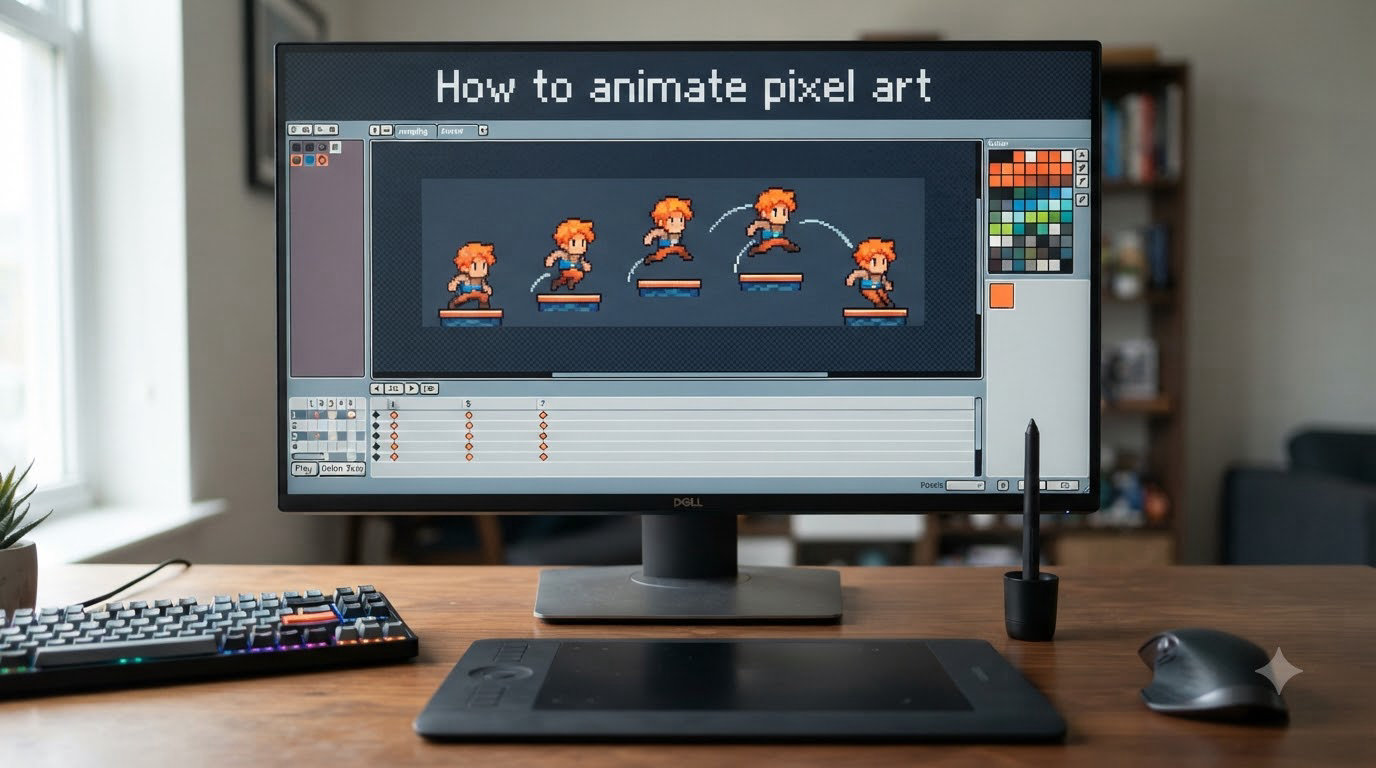
Learning how to animate pixel art is one of the most rewarding skills you can pick up as a game developer or digital artist. Static sprites look great, but animation brings characters to life — giving them personality, weight, and motion that players instantly connect with. Whether you are building your first indie game in Unity or Godot, or just want to create fun GIFs for social media, this guide walks you through everything from basic frame-by-frame animation to advanced techniques like sub-pixel movement and AI-assisted workflows in 2026.
I have spent years animating pixel characters for game projects, and I remember how overwhelming the timeline looked the first time I opened Aseprite. This guide distills what I learned the hard way into a clear, step-by-step path so you can skip the frustration and start creating smooth pixel art animations right away.
By the end of this article, you will understand the core principles behind pixel art animation, know which software to use, have a working step-by-step workflow, and be ready to create your first animation loop. Let’s get into it.
Table of Contents
What Is Pixel Art Animation?
Pixel art animation is the process of creating a sequence of small, low-resolution images (called frames) that play in rapid succession to create the illusion of movement. Each frame is drawn by hand at the pixel level, and when the frames cycle at 8 to 12 frames per second, your brain fills in the gaps and sees fluid motion instead of individual pictures.
Think of it like a digital flipbook. You draw one pose, then make small changes to that pose for the next frame, and the next, until the full motion plays out. The limited resolution of pixel art actually works in your favor here — fewer pixels means fewer changes per frame, which makes animation faster than high-resolution 2D art.
Most pixel art animation you see in games uses looping cycles: a character walks, runs, attacks, or idles in a repeating sequence. These short loops are efficient to create and easy to drop into any game engine. A typical idle animation might use just 4 frames, while a detailed attack animation could use 8 to 12 frames for a satisfying feel.
Essential Tools and Software for Pixel Art Animation
Before you start animating, you need the right software. The good news is that pixel art animation does not require expensive tools. Here are the options that the pixel art community relies on most in 2026.
Aseprite
Aseprite is the industry standard for pixel art animation. It has a built-in timeline, onion skinning, tag-based frame management, and direct export to sprite sheets and GIFs. Nearly every professional pixel artist I know uses it daily. It runs on Windows, macOS, and Linux, and you can buy it on Steam or directly from the developers. If you are serious about pixel art, this is the tool to get.
LibreSprite
LibreSprite is a free, open-source fork of an earlier version of Aseprite. It shares the same interface and core animation features, making it a strong choice if you want to learn pixel art animation without spending money. The trade-off is that it lacks some of the newer features and performance improvements found in the paid version of Aseprite. Reddit users in r/PixelArt frequently mention it as the go-to free option.
Pixelorama
Pixelorama is another free, open-source option that has been gaining serious traction in the community. It supports animation timelines, onion skinning, and custom brushes. Reddit users in r/PixelArt frequently recommend it as a viable free alternative, especially for beginners who want something modern and actively updated. It is built with Godot, which makes it a natural pairing for Godot game developers.
GraphicsGale
GraphicsGale is a classic Windows-only pixel art editor with solid animation features. It was originally commercial software but is now available for free. While the interface looks dated compared to Aseprite, it handles frame-by-frame animation well and supports layer-based workflows. It is a good option if you are on Windows and want something free without compromising on features.
Piskel
Piskel is a free, browser-based pixel art and animation tool. You do not need to install anything — just open the website and start drawing. It is great for quick experiments and learning the basics of timeline animation, though it lacks the advanced features needed for larger game projects. If you want to try pixel art animation right now without committing to software, Piskel is where to start.
How to Animate Pixel Art: Step-by-Step Guide
This section covers the complete animation workflow from blank canvas to finished sprite. I will use a bouncing ball as the first exercise because it teaches you the fundamentals that apply to every animation you will ever make — timing, spacing, squash, and stretch.
Step 1: Set Up Your Canvas and Timeline
Create a new file in your chosen software. A 32×32 or 64×64 pixel canvas is ideal for practice. Open the timeline panel — in Aseprite, press Alt+B to toggle it. Your timeline shows a horizontal row of frames, with each frame represented as a small thumbnail.
Set your frame rate to 12 FPS for a classic pixel art feel. You can always adjust this later, but 12 FPS is a good starting point for most pixel animations. Some artists prefer 8 FPS for a more stylized, choppy retro look, while others push to 15 FPS for smoother motion.
Step 2: Draw Your First Keyframe
In frame 1, draw a simple circle — your ball. Keep it small, around 8 to 10 pixels in diameter. This is your starting pose, also called a keyframe. A keyframe is any frame where you define an important pose or position in the animation.
Place the ball at the top of the canvas. This is the highest point of the bounce. The ball should be perfectly round at this stage — no deformation yet.
Step 3: Add the Contact Frame
Create a new frame and draw the ball at the bottom of the canvas, slightly flattened. This is the contact frame — the moment the ball hits the ground. The flattening (squash) shows impact and weight. Between the top position and the bottom position, you have defined the two most important poses of the entire animation.
Step 4: Fill In the In-Between Frames
Now add frames between your keyframes. This process is called in-betweening. For the ball falling down, space the frames closer together at the top (slow-in) and farther apart near the bottom (slow-out). This spacing creates the illusion of gravity accelerating the ball downward.
Turn on onion skinning to see previous and upcoming frames as faded overlays. In Aseprite, the onion skin button sits in the timeline toolbar. This feature is essential for keeping your animation consistent across frames. Without onion skinning, it is nearly impossible to maintain proper proportions frame to frame.
Step 5: Add the Squash and Stretch
When the ball hits the ground in the contact frame, squash it vertically so it becomes wider and shorter. On the frame right after the bounce, stretch the ball vertically so it becomes taller and narrower as it launches back up. This squash-and-stretch technique is the single most important principle in animation — it gives objects a sense of being soft, heavy, and alive rather than rigid and mechanical.
Step 6: Loop the Animation
Copy your first keyframe to the end of the timeline so the ball returns to its starting position. Play the animation in a loop. If the motion looks smooth and continuous, you have successfully created your first pixel art animation loop.
Most software lets you preview loops directly. In Aseprite, press Enter to play the animation. Watch for any jarring jumps between the last and first frame — that is where loop issues hide. Fix them by adjusting the second-to-last frame so it transitions smoothly into the first.
Step 7: Refine Timing and Spacing
Watch your animation play back at speed. Does the ball feel like it has weight? Does it accelerate as it falls? If the motion looks too uniform or robotic, adjust the spacing between frames. Move frames closer together where the motion should feel slow, and spread them apart where it should feel fast.
This refinement step is where good animations become great ones. I usually spend about a third of my total animation time just adjusting timing and spacing after the initial frames are drawn.
Understanding Pose-to-Pose vs. Straight-Ahead Animation
There are two fundamental approaches to animating, and both are useful for pixel art.
Pose-to-pose animation (also called keyframe animation) means you draw the important poses first, then fill in the gaps. You already practiced this with the bouncing ball — you drew the top and bottom positions before adding in-between frames. This approach gives you control over timing and composition, and it is the method most pixel artists use for complex animations like walking cycles and attack sequences.
Straight-ahead animation means you draw frame after frame in sequence, starting from the first pose and working forward. This approach produces more fluid, spontaneous motion but makes it harder to control timing. It works well for fast, chaotic actions like explosions, fire, or particle effects.
Most professional pixel artists combine both methods: they plan key poses first, then animate straight-ahead between them. Reddit users on r/gamedev frequently report that using keyframes to plan out the major poses dramatically simplifies their workflow.
Animating a Walking Cycle
Once you are comfortable with the bouncing ball, the next challenge is a character walking cycle. Here is the breakdown of the four key poses you need for a professional walk animation.
Contact pose: One foot is planted on the ground while the other reaches forward. The character’s head is at its lowest point in the cycle. The arms swing in opposition to the legs.
Down pose: The character’s weight settles onto the planted foot. The body dips slightly lower as the knee bends to absorb the impact.
Passing pose: The free leg passes beside the planted leg. The body rises as the planted leg straightens. The head reaches its midpoint height.
Up pose: The pushing leg extends fully and the body rises to its highest point. The free leg begins swinging forward for the next contact.
Repeat these four poses for the other leg to complete a full cycle. A standard pixel art walking cycle typically uses 6 to 8 frames per full stride. Mirror the poses horizontally for the opposite leg to save time and maintain consistency.
Core Animation Techniques Every Pixel Artist Needs
The bouncing ball and walking cycle teach you the basics, but the principles below are what separate stiff-looking sprites from professional animation. These techniques come from traditional animation theory, adapted for the unique constraints of pixel art.
Squash and Stretch
I mentioned this with the bouncing ball, but it applies to everything you will animate. When a character jumps, squash their body on takeoff and landing, and stretch it at the peak of the jump. When a character punches, stretch their arm forward at the moment of impact. The amount of squash and stretch tells the viewer how heavy or soft something is — a metal ball barely deforms, while a slime creature squashes dramatically.
In pixel art, squash and stretch is especially powerful because the low resolution means even a single pixel of deformation reads clearly. Do not be afraid to exaggerate it.
Timing and Spacing
Timing is how many frames an action takes. Spacing is how much the position changes between frames. Together, they control the speed and feel of every motion in your animation.
Closer spacing between frames creates slow motion. Wider spacing creates fast motion. Uneven spacing — like bunching frames at the start and end of a movement — creates natural acceleration and deceleration, also called slow-in and slow-out.
This is one of the biggest pain points beginners face, based on what I see across pixel art forums. If your animations look choppy or stiff, the problem is almost always timing and spacing. Try spacing your frames unevenly rather than at equal distances, and you will see immediate improvement.
Anticipation
Before a character performs any major action, they should briefly move in the opposite direction first. A character about to jump should crouch down. A character about to punch should pull their arm back. This tiny preparatory movement is called anticipation, and it telegraphs the action to the viewer so they can read the motion clearly.
In pixel art, even a single frame of anticipation makes a huge difference. Skip it, and your animations will feel abrupt and confusing. Anticipation is also your chance to add personality — a cautious character might have a long anticipation, while an aggressive one might have almost none.
Follow Through and Secondary Action
When a character stops moving, parts of their body should continue moving for a frame or two. A character’s hair or cape should keep drifting after they stop running. A sword swing should continue past the target point. This follow-through adds realism and polish that players notice even if they cannot articulate why it looks better.
Secondary action refers to smaller movements that support the main action — like a character blinking while talking, or fabric rippling during a walk. These small details make animations feel alive rather than mechanical.
Sub-Pixel Animation
Sub-pixel animation is a technique where you shift pixels by a single pixel or even use color value changes to create the impression of movement smaller than one full pixel. By subtly adjusting edge shading or anti-aliasing, you can create incredibly smooth motion even at very low resolutions.
This is an advanced technique, but it is worth understanding because it is what makes professional pixel art animations look buttery smooth. The trick is to think about not just position, but also color gradients and how they imply movement. A slight color shift on an edge can suggest a subtle turn of the head, even if no pixels actually moved positionally.
For example, shifting a highlight by one pixel along the edge of a character’s face can suggest a slight nod. The position barely changes, but the lighting shift reads as movement to the viewer. This technique is what separates professional sprite work from amateur efforts.
Advanced Tips for Better Pixel Art Animations
Once you have the core techniques down, these tips will help you level up your animations and avoid the most common mistakes I see beginners make across pixel art communities.
Common Mistakes to Avoid
Too many frames: Beginners often use too many frames, creating animations that feel slow and floaty. Start with fewer frames and add more only if needed. A punch can look powerful in just 3 to 4 frames. Less is often more in pixel art animation.
Inconsistent proportions: When animating frame by frame, it is easy to accidentally change the size or shape of your character between frames. Use onion skinning constantly and compare each frame against your keyframes to catch drift.
Ignoring silhouette readability: Fill your character with a single solid color and check if the pose reads clearly as a silhouette. If the silhouette is a confusing blob, the animation will be hard to read at game speed.
Equal spacing everywhere: Uniform spacing between frames creates robotic, mechanical motion. Use varied spacing to add weight and personality to your animations.
Not testing loops: An animation might look great on the first play but fall apart when it loops. Always test your loops by watching them repeat at least 10 times in a row.
Making Smooth Loops
A good loop should be seamless — the last frame should transition naturally into the first frame with no visible jump. The trick is to treat the end of your loop as leading into the beginning, not as a separate endpoint.
For walking and running cycles, this is straightforward since the poses repeat symmetrically. For idle animations, make sure the breathing or subtle movement in the last frame matches the first frame exactly. Test your loops by watching them repeat 10 times in a row — if you can spot the seam, it needs work.
Game Engine Integration
Getting your animations into a game engine like Unity or Godot requires exporting them as sprite sheets. A sprite sheet arranges all frames of an animation into a single image file in a grid layout. The game engine then reads this grid and displays frames at the correct speed.
In Unity, you import the sprite sheet, set the texture type to Sprite (2D and UI), enable multiple sprite mode, and define the grid size. Unity automatically slices the sheet into individual frames. Then you create an Animation Controller and drag the frames into the timeline.
In Godot, you create a Sprite2D node, load the sprite sheet texture, and use an AnimatedSprite2D or AnimationPlayer node to control frame playback. Godot’s AnimatedSprite2D lets you define frame ranges and speeds directly in the inspector, which makes setup fast and intuitive.
A common pain point on game dev forums is export settings causing blurry or misaligned sprites. Always set your texture filtering to “Point” or “Nearest Neighbor” in your game engine to keep pixel art sharp. Disable anti-aliasing and mipmapping for pixel art textures — these features are designed for high-resolution art and will ruin your pixel-perfect edges.
AI-Assisted Pixel Art Animation Tools
AI tools are emerging that can help with pixel art animation, and this is an area most guides do not cover. Community-built scripts for Aseprite can generate in-between frames automatically, and browser-based tools are beginning to offer AI interpolation features. These are not replacements for hand-drawn animation, but they can speed up your workflow for repetitive tasks like background character animations.
Some game developers are experimenting with AI to generate rough animation passes that they then clean up by hand. This hybrid approach can cut animation time significantly, especially for simple object animations or particle effects. The technology is still early as of 2026, but it is worth watching as it develops rapidly.
Exporting Your Pixel Art Animations
When your animation is finished, you need to export it in a format your project can use. Here are the three most common formats and when to use each.
Sprite Sheet (PNG): The standard format for game development. All frames are arranged in a grid within a single image. Most game engines prefer this format because it is efficient to load and render. In Aseprite, go to File then Export Sprite Sheet and choose your grid layout. Make sure the padding between frames is set correctly for your engine’s requirements.
GIF: Best for sharing animations online, posting to social media, or embedding in documentation. GIFs support animation natively and play in any browser without special code. However, GIF files are larger than sprite sheets and not suitable for in-game use due to limited color support and lack of transparency control.
PNG Sequence: Each frame is exported as an individual PNG file. This is useful if your game engine or pipeline requires individual frames rather than a combined sprite sheet. Some animation tools and video editors prefer this format.
When exporting, always use nearest-neighbor scaling if you need to scale up your art for display. Never use bilinear or bicubic scaling for pixel art, as it will blur your crisp pixel edges and ruin the aesthetic.
FAQs
Is pixel art hard to animate?
Pixel art animation is one of the most accessible forms of animation to learn. Because you are working with a small number of pixels, each frame requires fewer decisions than high-resolution 2D or 3D animation. The basics — like a bouncing ball or simple idle cycle — can be learned in an afternoon. That said, mastering timing, spacing, and fluid motion takes months of practice. Start simple, build muscle memory with small exercises, and work your way up to complex character animations.
What software is used for animation pixel art?
The most popular software for pixel art animation includes Aseprite (the industry standard), LibreSprite (free and open-source), Pixelorama (free and actively updated), GraphicsGale (free on Windows), and Piskel (browser-based and free). Aseprite is the top recommendation across Reddit and game development communities because of its built-in timeline, onion skinning, and sprite sheet export features.
Is there an AI that can animate pixel art?
Yes, AI-assisted tools are emerging for pixel art animation. Some community-built Aseprite scripts can generate in-between frames automatically, and browser-based tools are beginning to offer AI interpolation features. These tools work best as a starting point — they generate rough animation passes that artists then refine by hand. The technology is improving quickly, but hand-drawn pixel art animation still produces higher quality and more expressive results.
How long does it take to animate pixel art?
A simple animation like a bouncing ball or basic item effect takes 15 to 30 minutes. A character idle animation typically takes 1 to 3 hours. A full walking or running cycle takes 2 to 5 hours for an experienced pixel artist. Complex attack animations or multi-state character animations can take a full day or more. Beginners should expect these times to double or triple while building foundational skills.
Wrapping Up: Your Pixel Art Animation Journey
Learning how to animate pixel art is a skill that builds on itself over time. Start with the bouncing ball exercise to internalize timing, spacing, squash, and stretch. Move on to a walking cycle to practice keyframe planning and in-betweening. Then layer in anticipation, follow-through, and sub-pixel techniques as you gain confidence with each project.
The tools are accessible — Aseprite for a polished experience, LibreSprite or Pixelorama for a free start. The principles are timeless, drawn from decades of traditional animation wisdom. And the gap between where you are now and where you want to be is just a matter of consistent practice. Pick a small animation project today, open your software, and start drawing frames. Every professional pixel artist started exactly where you are right now.