If you are hunting the strongest fishing rod in Fish It Roblox, you need to know how to get Withering Reel in Fish It. The Withering Rod sits at the top of the gear list with Forgotten rarity, and unlocking it means completing a three-part questline inside the Copper Canyon mine.
I spent the last week running this questline from start to finish, and I will walk you through every step so you do not waste hours guessing what comes next.
The entire questline is tied to a hidden NPC called Null. You cannot see the Withering Rod crafting recipe until you finish all three parts of his quest.
That means no shortcuts, no skipping steps, and no buying the rod from a shop. You must earn it through the questline, which is why this guide exists.
I will break the quest into three clear phases. Part 1 covers five prerequisites, including the Diamond Rod and the Flame Tyrant. Part 2 unlocks the Withering Reel and Withering Handle from Sunken Treasure Chests.
Part 3 unlocks Withering Core fishing. Once you have all three pieces, you craft the rod at the Crafting Bench.
I will also include time estimates and common mistakes so you can plan your play sessions.
Table of Contents
The Withering Rod is a Forgotten rarity rod that offers the best fishing stats in the game.
The Withering Rod is a Forgotten rarity fishing rod in Fish It Roblox, and it is currently one of the best rods you can obtain. It comes with high base stats across Luck, Mutation Chance, Reel Speed, and Shiny Chance.
Those stats make a real difference when you are trying to catch rare and mutated fish in the later zones.
What makes this rod special is that you can reroll its traits using extra Withering Cores. Each reroll changes both the numerical stats and the visual appearance of the rod.
That means you can chase the perfect combination of bonuses for your play style. I have seen players reroll twenty times to get max Luck and Mutation Chance.
You cannot buy this rod with in-game currency. You must craft it after completing the Null NPC questline.
That questline is located in the Copper Canyon mine, which is not marked on the map as clearly as the main fishing zones. The Diamond Rod is strong, but the Withering Rod is a clear upgrade in every stat category.
You need the Diamond Rod and access to Copper Canyon before you can start.
Before you can start the Withering Rod quest, you need to own the Diamond Rod. The Diamond Rod is itself a quest reward, so if you do not have it yet, you will need to complete that questline first.
I estimate the Diamond Rod chain takes about one to two days of focused play, depending on how much time you spend fishing.
You also need access to the Copper Canyon mine. The mine entrance is located near the main spawn area, but it is tucked behind a rocky path that new players often miss.
I recommend exploring the left side of the map until you see a wooden sign pointing toward the canyon. There is no level lock for the Withering Rod quest itself, but having a decent rod and some Diving Gear will make the later steps much easier.
Make sure your Fish Index is at least partially filled. You do not need every single fish, but you will need to show progress from Common through Mythic rarities.
Stock up on good bait before you enter the mine. The Flame Tyrant and several other quest steps benefit from having high-quality bait in your inventory.
If you have been actively fishing, the Fish Index requirement is usually already met.
Copper Canyon is found by following the left path from spawn, and Null stands near the back wall of the mine.
Copper Canyon is a mining zone located off the main fishing map. To reach it, walk toward the left side of the spawn area and follow the dirt path past the wooden dock.
You will see a cave entrance marked by a small torch and a wooden sign. Enter that cave to load into the Copper Canyon mine.
Once inside, follow the main tunnel straight ahead. You will pass a few NPCs offering side quests, but keep going until you reach a small platform overlooking a lower pit.
Null stands near the back wall, slightly to the right of the center platform. He does not have a glowing marker, so he is easy to miss if you are rushing.
The mine layout is linear, but the lower pit has side tunnels that confuse some players. If you find yourself at the Mutation Cellar or the lava vents, you have gone too far.
Backtrack to the central platform and look for the NPC with the gray hood. Talk to Null to activate the Withering Rod questline.
He will give you Part 1, which lists five objectives. None of the objectives are complicated on their own, but together they form a long checklist.
I will break down each one so you know exactly what to do.
Part 1 has five objectives that must all be completed before Parts 2 and 3 unlock.
Step 1: Own the Diamond Rod
You must have the Diamond Rod in your inventory before Null will count this objective as complete. The Diamond Rod comes from the Diamond Researcher Quest, which is a separate quest chain that starts with Larry the Scientist near the main docks.
That quest asks you to catch specific fish and deliver research samples. Larry the Scientist stands near the research tent on the right side of the spawn area.
He is the same NPC who gives you the beginner fishing tutorial. Talk to him to start the Diamond Researcher Quest, then return to him after each catch.
If you already have the Diamond Rod, this step is instant. Just talk to Null again after obtaining it.
If you do not have the Diamond Rod, stop the Withering Rod quest and focus on the Diamond Researcher Quest first. I found that rushing the Diamond Rod in one sitting takes about four to six hours if you know which fish to target.
The Diamond Rod is also a strong mid-game tool, so completing its quest is worth your time even outside the Withering Rod requirement.
Step 2: Complete the Diamond Researcher Quest
This sounds similar to Step 1, but it is tracked separately. You must fully finish the quest that rewards the Diamond Rod, not just own the rod.
That means every sub-objective in the Diamond Researcher chain must be checked off. Larry the Scientist gives you the quest.
He wants you to catch specific fish and return them as research samples. The fish vary by rarity, so you will need to visit multiple zones.
Early objectives ask for Common and Uncommon fish near the starting pond. Later objectives send you to deeper zones for Rare and Epic catches.
I recommend using your best rod and any Luck-boosting pets to speed up the rare catches. The Diamond Researcher Quest is a known pain point for players.
It is long, and the rare fish catches can feel random. If you get stuck on a specific fish, check the Fish Index to see which zone it lives in.
That will save you from fishing in the wrong spot.
Step 3: Craft the Oculus Charm
The Oculus Charm is a craftable item you make at the Crafting Bench. The recipe requires four materials: Cave Crystal, Embercrux, Pyrafruit Relic, and Veilshards.
Each material drops from a specific location or activity inside Copper Canyon. Cave Crystals drop from the small crystal nodes along the mine walls.
Embercrux comes from the lava vents near the lower level. Pyrafruit Relic is a rare drop from the glowing fruit bushes in the side tunnels.
Veilshards drop from the ghost enemies that spawn near the Mutation Cellar entrance. I recommend farming these materials in order.
Start with Cave Crystals because they are the most common. Then move to Embercrux, which has a decent spawn rate but requires you to dodge lava damage.
Save Pyrafruit Relic for last, since it is the rarest drop and can take thirty minutes or more. Bring a weapon or ability to deal with the ghost enemies quickly when farming Veilshards.
Step 4: Fill the Fish Index from Common to Mythic
Null wants you to prove you understand fishing by filling the Fish Index from Common through Mythic rarities. You do not need every single fish in the game.
You only need to have caught at least one fish from each rarity tier between Common and Mythic. If you have been playing for more than a few days, this is probably already done.
If not, open your Fish Index and look for the grayed-out rarity tiers. Focus on catching one fish from each missing tier.
Common and Uncommon fish are everywhere. Rare and Epic fish show up in the mid-tier zones.
Legendary and Mythic fish require deep water and high Luck. The Mythic tier is the hardest, so use a Luck-boosting rod and check the Fish It pets guide for pets that raise your Luck stat.
I see a lot of confusion about this step in community discussions. Players think they need to catch every fish in the index.
That is not true. Common through Mythic is all Null checks.
Step 5: Catch the Flame Tyrant
The Flame Tyrant is a secret fish required for Part 1. It is not a normal catch, and it does not show up in the standard Fish Index until you catch it.
You will need to learn how to catch Flame Tyrant before you can finish this step. I have a dedicated guide for this secret fish, but here is the short version.
The Flame Tyrant spawns in the Copper Canyon Mines under specific conditions. You need a strong rod, high Luck, and patience.
The catch rate is low, and many players report spending over an hour trying to hook one. Some community members suggest fishing near the Embercrux vents for the best odds.
If you are struggling, make sure you have the best available bait and a pet that boosts Luck. The Flame Tyrant is a known frustration point, so do not feel bad if it takes multiple attempts.
Once you catch it, return to Null to complete Part 1. I recommend doing this step after all the other Part 1 objectives so you do not burn out early.
Parts 2 and 3 unlock together and focus on collecting the three rod components.
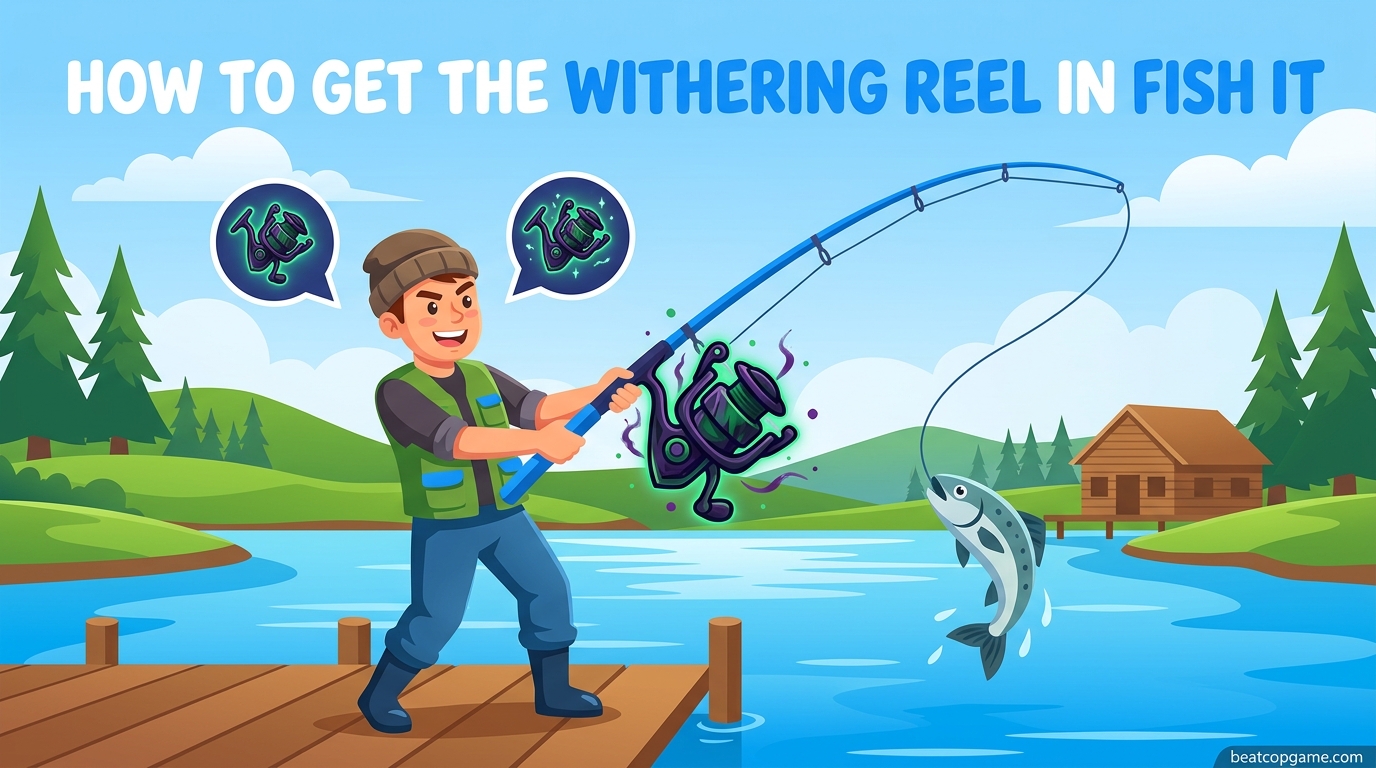
Part 2: Withering Reel and Handle from Sunken Treasure Chests
The Withering Reel and Withering Handle both come from Sunken Treasure Chests. These chests only appear during the Shipwreck event or the Treasure Hunt event.
That means you cannot farm them at will. You must wait for the event to spawn.
The Shipwreck event is random. Players report it can take anywhere from thirty minutes to several hours to appear.
When it does spawn, you will see a notification on your screen and a ship icon on your event tracker. Head to the marked zone immediately, because the event is timed.
The Treasure Hunt event is less common but works the same way. You need Diving Gear to reach the sunken chests.
If you do not have Diving Gear yet, buy it from the shop near the main docks. Without it, you cannot swim deep enough to open the chests.
Once underwater, look for the glowing chests near the shipwreck debris. Each chest has a chance to drop either a Withering Reel or a Withering Handle.
I recommend opening every chest you can during the event. The drop rate is not guaranteed, so multiple chests improve your odds.
If you only get one component, do not worry. The event will spawn again, and you can keep the partial progress.
I got my first Withering Reel on the third chest during my first Shipwreck event.
Part 3: Withering Core Fishing Locations
Part 3 unlocks the ability to fish for Withering Cores. These are special items that look like fish but function as crafting materials.
You can catch them in the deep-water zones near the Mutation Cellar and the Embercrux vents. The Withering Core drop rate is not officially listed.
Community reports suggest it is roughly one core per ten to fifteen casts in the correct zone. I managed to pull three cores in a single twenty-minute session once I found the right spot.
The key is to cast into the darker water near the lava vents. I found the best results during the in-game evening when the water shading makes the zone easier to identify.
You need at least one Withering Core to craft the rod. However, I recommend catching five to ten extra cores.
You will want them for rerolling traits later. The crafting bench lets you reroll the Withering Rod using additional cores, and each reroll changes both stats and appearance.
I caught seven cores total and still wish I had farmed more.
Craft the Withering Rod at the Crafting Bench using one Reel, one Handle, and one Core.
Once you have all three components, return to the main island and find the Crafting Bench. The bench is located near the center of the spawn area, next to the shop and the Fish Index board.
Interact with it to open the crafting menu. The Withering Rod recipe will appear under the Special or Legendary tab, depending on how the game categorizes Forgotten rarity items.
The recipe requires exactly one Withering Reel, one Withering Handle, and one Withering Core. Place all three into the crafting slots and confirm the craft.
The rod will appear in your inventory immediately. Equip it and check your stats.
You should see a significant jump in Luck, Mutation Chance, Reel Speed, and Shiny Chance compared to your previous rod. The base stats are strong, but the real fun starts with rerolling.
I noticed my catch rate for rare fish improved within the first hour of using the rod. To reroll traits, open the Crafting Bench again and select the Withering Rod.
You will see a reroll option that consumes one additional Withering Core per attempt. Each reroll randomizes the stat distribution and the visual effect on the rod.
I have seen players get a perfect max-Luck roll on their third try, and others spend fifteen cores chasing a specific look. The best reroll traits depend on your goals.
If you want rare fish, prioritize Luck and Shiny Chance. If you want mutations, focus on Mutation Chance.
If you fish for long sessions, Reel Speed helps you land fish faster. I personally chased Luck and Mutation Chance because those two stats affect the rarest catches in the game.
Keep in mind that rerolling is optional. The base Withering Rod is already one of the best rods in the game without any rerolls.
Do not feel pressured to spend all your cores immediately. Save some for later when you know exactly what you want.
You can always farm more cores in the same spot where you caught your first one.
Plan for four to eight hours of active play, and use downtime to farm side materials while waiting for events.
I learned a few hard lessons while running this questline. The first one is time management. Part 1 alone takes most players between four and eight hours of active play.
The Diamond Researcher Quest is the biggest time sink, followed by the Flame Tyrant catch. Plan your play sessions so you are not trying to rush the Flame Tyrant at midnight.
The second lesson is about the Shipwreck event. Do not sit in the lobby waiting for it.
Instead, work on side quests, farm materials, or catch extra fish while you wait. I used downtime to fill out my Fish Index and farm extra Veilshards.
That way, when the Shipwreck event finally spawned, I felt productive instead of bored. Use a Fish Radar if you have one.
The Fish Radar highlights rare fish locations, which speeds up the Diamond Researcher Quest and the Fish Index requirement. It also helps you find the exact zone for Withering Core fishing.
If you do not have a Fish Radar, check the shop to see if it is available. Some players say it is worth the in-game currency investment.
Pets make a noticeable difference. A pet with Luck boost will improve your Flame Tyrant catch rate and your Withering Core drop rate.
I brought a Luck pet for every step after Part 1, and it shaved time off each phase. Check the Fish It pets guide to see which companions are worth equipping.
If you are free-to-play, do not ignore the pet system. You can get pet eggs without spending Robux by completing certain achievements and events.
Our guide on getting free pet eggs in Fish It covers the current methods available. Even a basic Luck pet is better than no pet.
A common mistake is trying to fish for Withering Cores before Part 3 is unlocked. You will not catch any cores until Null explicitly gives you the Part 3 objective.
I wasted twenty minutes casting in the wrong zone because I thought the cores were always available. Wait for the quest unlock.
Another mistake is throwing away extra Withering Cores. You need them for rerolls.
I kept ten cores in my inventory after crafting the rod, and I have already used six of them chasing better stats. Do not sell them to the shop.
A third mistake is ignoring the Diving Gear requirement for Sunken Treasure Chests. I saw a player swim down, realize they could not reach the chest, and miss the entire event.
FAQ
How to catch the secret fish in Fish It?
The secret fish in Fish It, like the Flame Tyrant, require specific locations and conditions. For the Flame Tyrant, fish in the Copper Canyon Mines with high Luck and strong bait. Use Luck-boosting pets and expect multiple attempts.
How do you reel in a fish?
Reeling in fish in Fish It is simple. Wait for the bite indicator, then click and hold the reel button. Keep the tension bar in the green zone by releasing and re-pressing the button, because letting it drop into red snaps the line.
How to reel in fish in Roblox?
In Fish It on Roblox, the reel mechanic uses a tension bar. When a fish bites, hold the reel button to raise tension. Release briefly if the bar turns red, then press again until the catch is complete.
How long does the Withering Rod quest take?
The full Withering Rod quest takes most players between six and twelve hours of active play. Part 1 is the longest at four to eight hours. Parts 2 and 3 depend on Shipwreck event spawns and Withering Core drop rates.
What are the best Withering Rod reroll traits?
The best reroll traits depend on your goals. For rare fish, chase Luck and Shiny Chance. For mutations, focus on Mutation Chance, and for speed, focus on Reel Speed.
Can I get Withering Reels without the Shipwreck event?
No. The Withering Reel and Withering Handle only drop from Sunken Treasure Chests, which only appear during the Shipwreck or Treasure Hunt events. You must wait for the event to spawn and use Diving Gear to reach the chests.
Do I need to complete the entire Fish Index?
No. You only need to have caught at least one fish from each rarity tier between Common and Mythic. You do not need every fish in the game, so focus on the missing tiers in your Fish Index.
How to Get Withering Reel in Fish It comes down to patience, preparation, and following the Null NPC questline.
If you made it this far, you now have the complete roadmap. Start with the Diamond Rod, craft your Oculus Charm, fill the Fish Index through Mythic, and catch the Flame Tyrant.
That unlocks Part 2 and Part 3, which give you access to the Withering Reel, Withering Handle, and Withering Core.
Once all three components are in your bag, head to the Crafting Bench and build the rod. Do not forget to save extra cores for rerolls.
The Withering Rod is worth the effort, and once you equip it, you will feel the difference on every cast. Good luck in Copper Canyon, and may your next catch be a rare one.